1/16/16

Jesus turns water into wine

John 2:1-11


Today I have an activity that will shock your kids! Keep reading and I will show you how to turn water into wine while your students watch in amazement. The second half of today's post will include a game.

To set the mood for the lesson, I served snacks to the kids that might have been found at the Cana wedding feast.
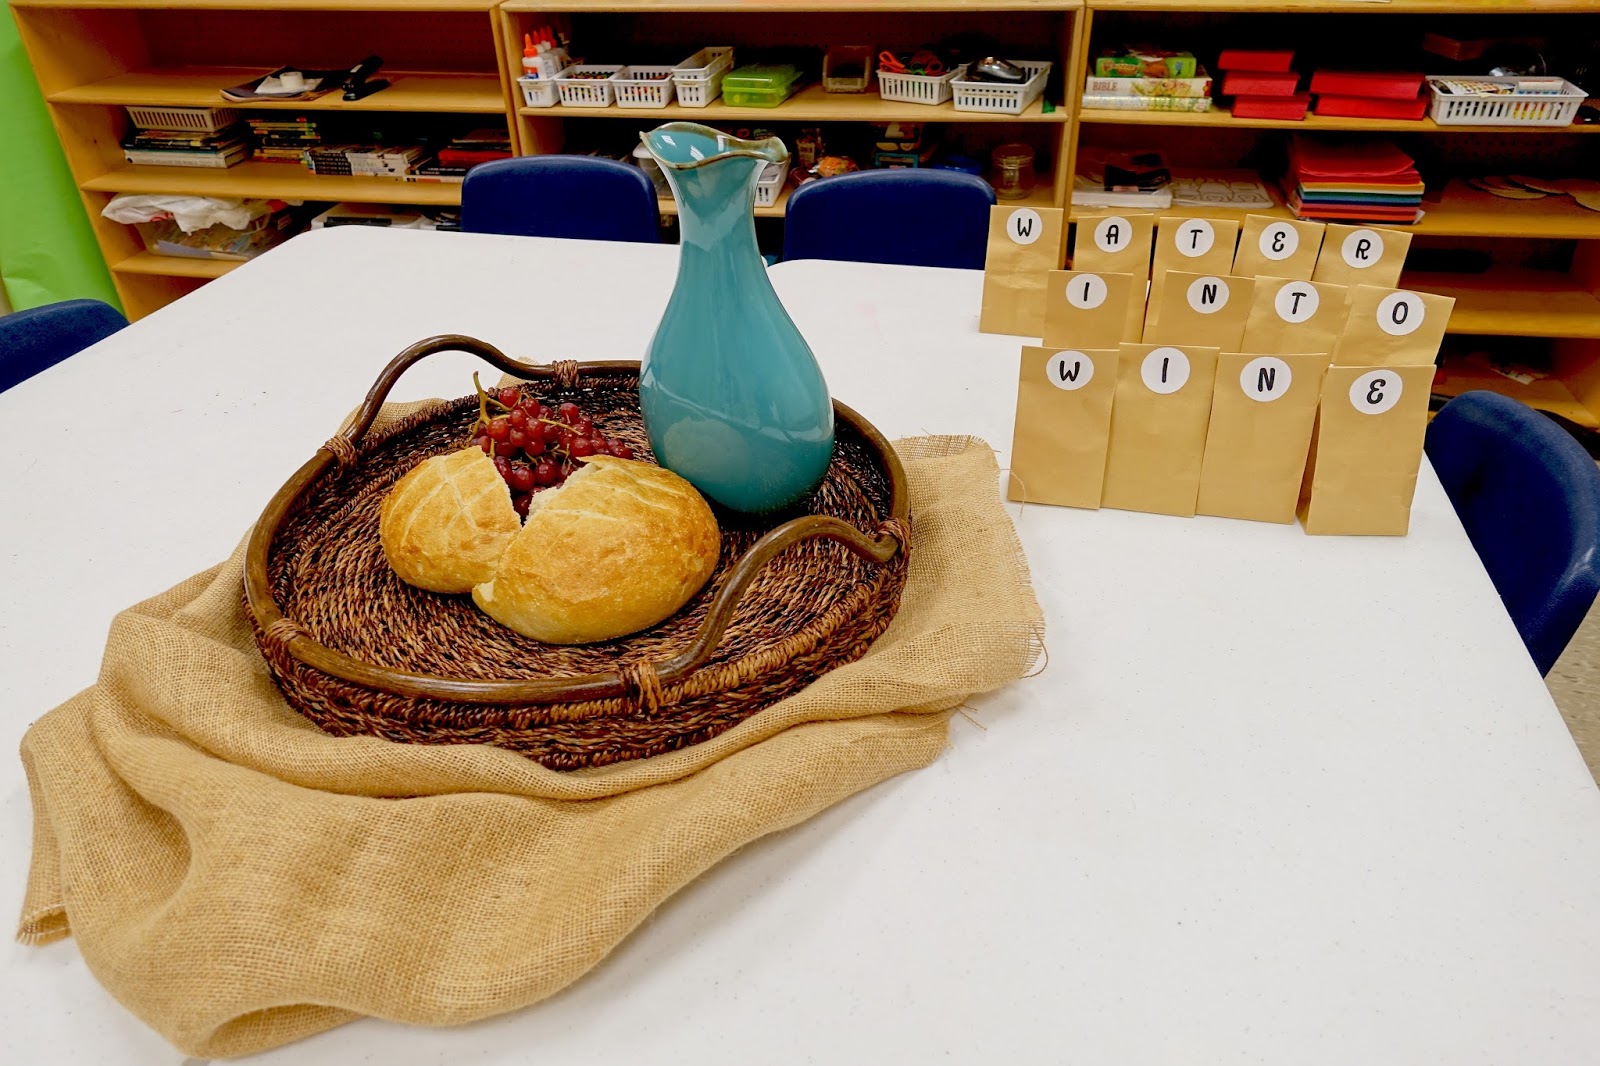

We compared wedding receptions of today to those in bible times. One huge difference is their feasts lasted for seven days. Can you imagine! 

As I segued into the lesson, I began acting out the events as I told the story. I lifted the empty, opaque pitcher from the table and tipped it forward for all to see it's lack of contents as I explained how Mary told Jesus there was no more wine. Fortunately, my pitcher had a narrow neck making the the bottom difficult to see. I walked across the room and collected a jug of water as Jesus told the servants to fill the pots to the brim. I did not fill my vessel quite that full :). The kids watched as the clear water entered my opaque pitcher.  Next, I handed out brown paper bowls I found at Hobby Lobby, explaining that cups back then were made from pottery. The brown paper bowls were the closest thing I could find at a reasonable price that looked vaguely similar to pottery cups. 


I then poured the water from the opaque pitcher into their cups, only it wasn't water any more. It was wine (aka Kool-Aid). The kids could not believe their eyes! It was quite funny. What they had not known was that before class, I added Kool-Aid drops to the bottom of the empty opaque pitcher. This is why the pitcher absolutely has to be opaque.


We ate bread and grapes with our Kool-Aid while I finished telling the story. Of course, they could not figure out how I had managed this miracle, so I let them in on my secret.  
   
Materials needed for the water transformation:

1 clear pitcher or bottle of water
1 Opaque pitcher
Kool-Aid mix (drops or powder will work)


Game

The game for this lesson is quite easy.

Items Needed:

13 Questions (Click for pdf)

13 Small Goody Gags


2 Buzzers (they come in a 4 pack, but we only need 2 for this game)

How to play:

Set up an area for two players to face each other with a buzzer in front of each.

Read the first question aloud.

The first person to hit his/her buzzer gets to answer the question.

If they get the answer correct, they may choose a paper bag and return to their seat. They may open the bag immediately. A new player fills the empty position. 

If the player answers incorrectly, their opponent may try to answer the question. If that player answers correctly, he/she selects a bag and returns to their seat with a new player taking the empty place at the buzzer. 

If neither player answers correctly, give the correct answer and move on to the next question. This question may be used again later.

Play continues with two players battling at a time until all 13 questions have been answered correctly.

There are 13 questions and 13 bags. Each question may only be answered correctly once. 


The Goody Bags

The goody bags may be filled with anything. I placed one piece of candy and one very small toy (erasers and animal crayons) in each bag.


I put a sticker on each mini bag to spell out the topic of the lesson (Water Into Wine). :) The stickers were printed on plain white sheet labels. I used my circle cutter to cut out the letters.


NOTE:  All images, text and printables contained herein are copyright protected. This material is for your personal use only. I encourage you to print or pin from this site whenever you would like as long as it is credited and linked back to EasyBreezySundaySchool.blogspot.com. Failure to link back and credit my site constitutes a copyright violation.  Thanks so much!


1/3/16

Young Jesus Gets Left Behind Game

Luke 2: 41-52


Today's lesson is about when Mary and Joseph accidentally left a twelve-year-old Jesus behind in Jerusalem after a festival. When they returned to Jerusalem and found him in the temple, he asked them, "Did you not know that I must be in my Father's house?"

Maybe it's the approaching winter weather that has me aching to get active, or maybe it's the fact that I've just spent several weeks being incredibly lazy and eating too many holiday treats, but whatever the motivating factor was, I decided to make today's lesson memorable by giving the kids a hands-on experience with searching for Jesus.  

Before class, I dressed a Ken doll as a twelve-year-old Jesus and hid him in the sanctuary. During our lesson, we talked about how panicky Mary and Joseph must have been when they realized Jesus was not with them on their journey home. In telling the story, I explained how Mary and Joseph probably went to each family member asking, "Is Jesus with you? Have you seen him?" I looked at each child and asked these questions, as if I were Mary, and each child stared back at me, instinctively playing along, replying "No," and shaking their heads. When everyone was sufficiently hyped up, I led them into the sanctuary and told them to go find Jesus. They frantically raced about the pews, the podium, the choir area, and the baptismal font until someone found him in the transept sitting beside a plant.

"Again, again!" they shouted. Of course everyone wanted to be the hider, so the kids took turns hiding the doll for several more rounds. 

Things to consider: 
--Make sure the rector/pastor doesn't mind the sanctuary becoming a temporary play ground.
--Remind the children the sacraments are holy and should not be disturbed if they are present.
--Do not hide Jesus inside anything (he must be visible without moving other objects).
--No screaming (This is still a place of worship).


NOTE:  All images, text and printables contained herein are copyright protected. This material is for your personal use only. I encourage you to print or pin from this site whenever you would like as long as it is credited and linked back to EasyBreezySundaySchool.blogspot.com. Failure to link back and credit my site constitutes a copyright violation.  Thanks so much!


12/13/15

Christmas Treat

Here's a fast, simple, and cheap gift for the kids:

A Cup of Cocoa in a Bag


I found the cutest hot chocolate kits at Michael's this week! Each kit comes with designed marshmellows. The vanilla (blue) candy canes come with snowflake marshmellows, and the peppermint candy canes come with snowmen face marshmellows. Michael's also had a set of 16 pre-printed "have a sweet HOLIDAY" ziplock treat bags for just a few dollars. I had to go to the grocery to get the hot chocolate pouches.

It all made for a cute holiday happy for the kids.


Each bag contained one hot chocolate pouch, one candy cane, and one marshmellow.


NOTE:  All images, text and printables contained herein are copyright protected. This material is for your personal use only. I encourage you to print or pin from this site whenever you would like as long as it is credited and linked back to EasyBreezySundaySchool.blogspot.com. Failure to link back and credit my site constitutes a copyright violation.  Thanks so much!


Christmas Lanterns

Luke 9:5


I made a few changes to this old craft. It was a good idea, but honestly, I was disappointed. Here's how to not make the same mistakes....

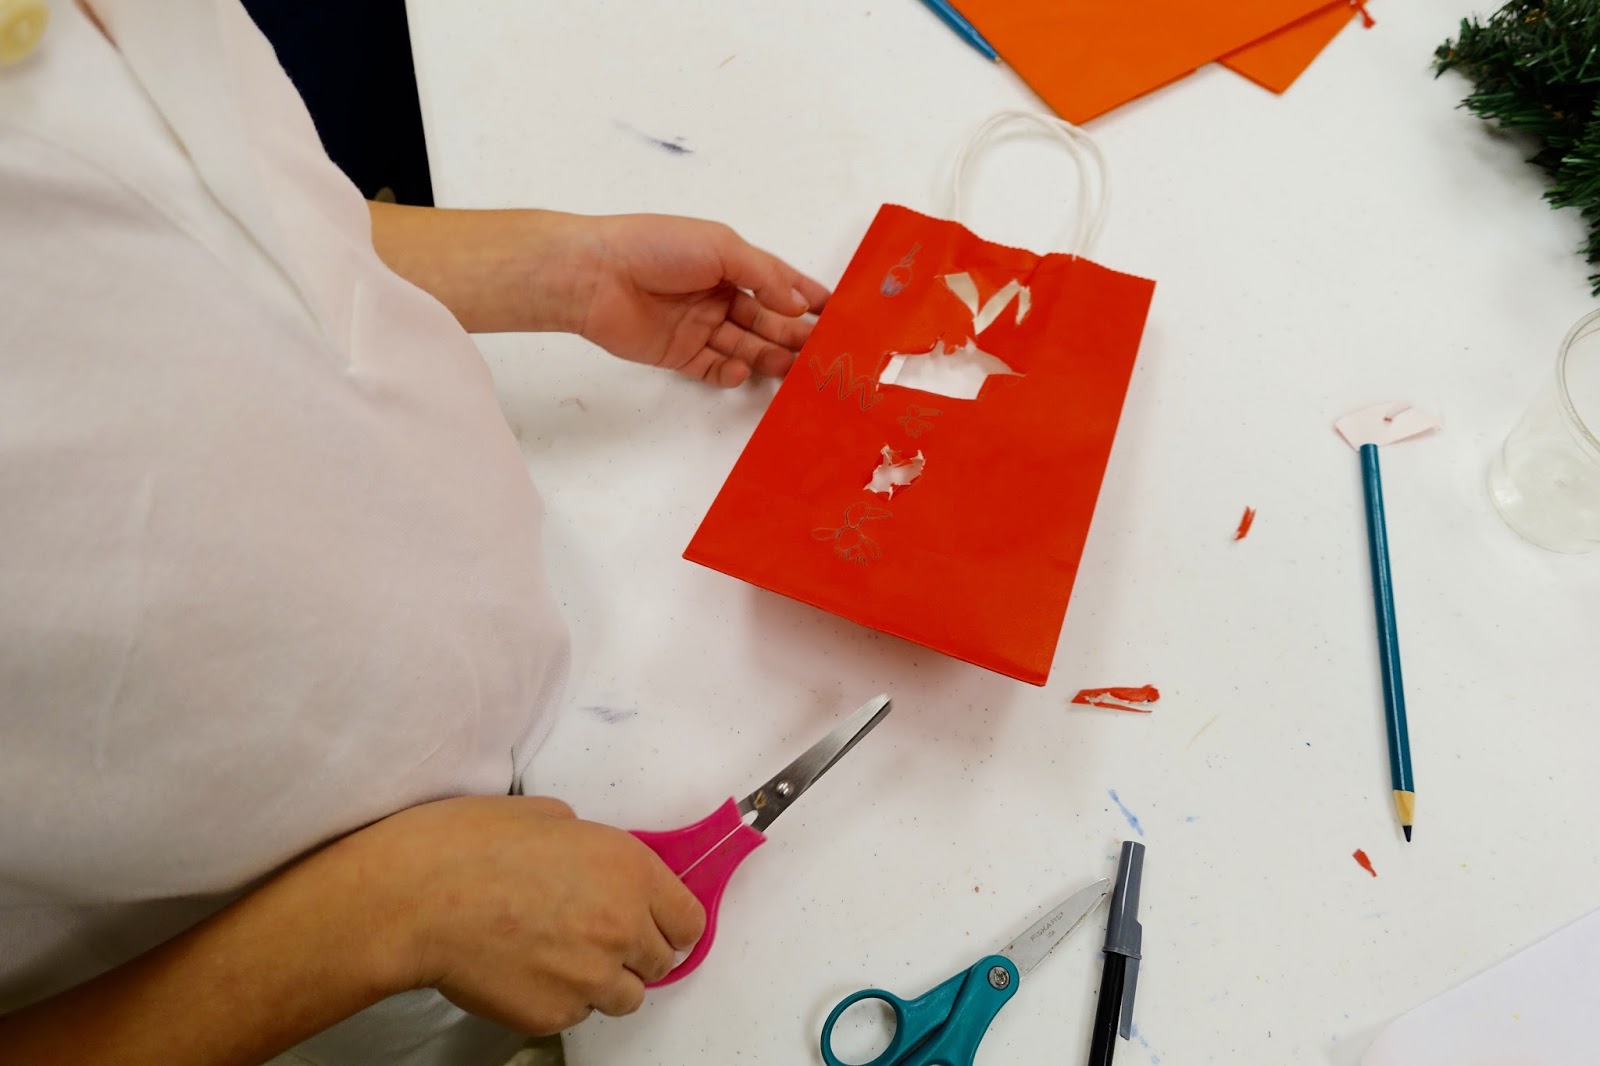
In an effort to cutesy up this craft, I decided to use colored gift bags with handles. The colors were nice, I thought. The handles will be ...handy, I thought. The "on sale" price made them almost as cheap as the standard lunch size paper bag, so why not, I thought. My reasoning was good; however, I did not realize is these bags are significantly thicker than the traditional cheap lunch bags. Big deal, right? Well, it was a big deal. Not catastrophe big, just "I won't do this again" big.

The bags were thick (especially in the area where the handles attach), and our child-safe scissors were dull, so making neat cutouts was impossible. We laughed it off and did our best, but next time I'll go back to the cheap lunch bags. The middle bag with baby Jesus is mine. It looks ok from a distance but, believe me, up close it is a jagged mess. LOL

Instructions:


1. Using a pencil, lightly draw shapes onto on side of a bag. Large, simple shapes are best, i.e. stars, hearts, circles.


2. Cut out the shapes.


3. Place a battery operated votive candle inside. I opted to skip the rocks/sand usually used as weight in the bottom of the bag because I reasoned that these lanterns will more than likely be displayed around the house and the weights won't be necessary. I told the kids they could collect a few rocks from their yard to put inside if they have trouble with it falling over. 


NOTE:  All images, text and printables contained herein are copyright protected. This material is for your personal use only. I encourage you to print or pin from this site whenever you would like as long as it is credited and linked back to EasyBreezySundaySchool.blogspot.com. Failure to link back and credit my site constitutes a copyright violation.  Thanks so much!


10/27/15

Jesus Heals Blind Bartimaeus

Mark 10: 42-56


Today we learned that blind Bartimaeus was healed by Jesus because Bartimaeus had such strong faith.

An easy activity to go along with this lesson requires very little prep. and allows the children to explore the challenges of being blind.


Materials:

One scratch kit found at Hobby Lobby:              


Blindfolds found at Dollar Tree:


This was a great lesson to talk about many topics. We first discussed people we encounter in our lives today begging on the side of the road. This is who Bartimaeus was—a beggar.

Next, we moved into sharing our experiences with people who are blind. Blind people typically have extraordinary hearing. This is probably how Bartimaeus knew it was Jesus who was walking nearby.

We wrapped up the lesson by talking about what it means to have faith.

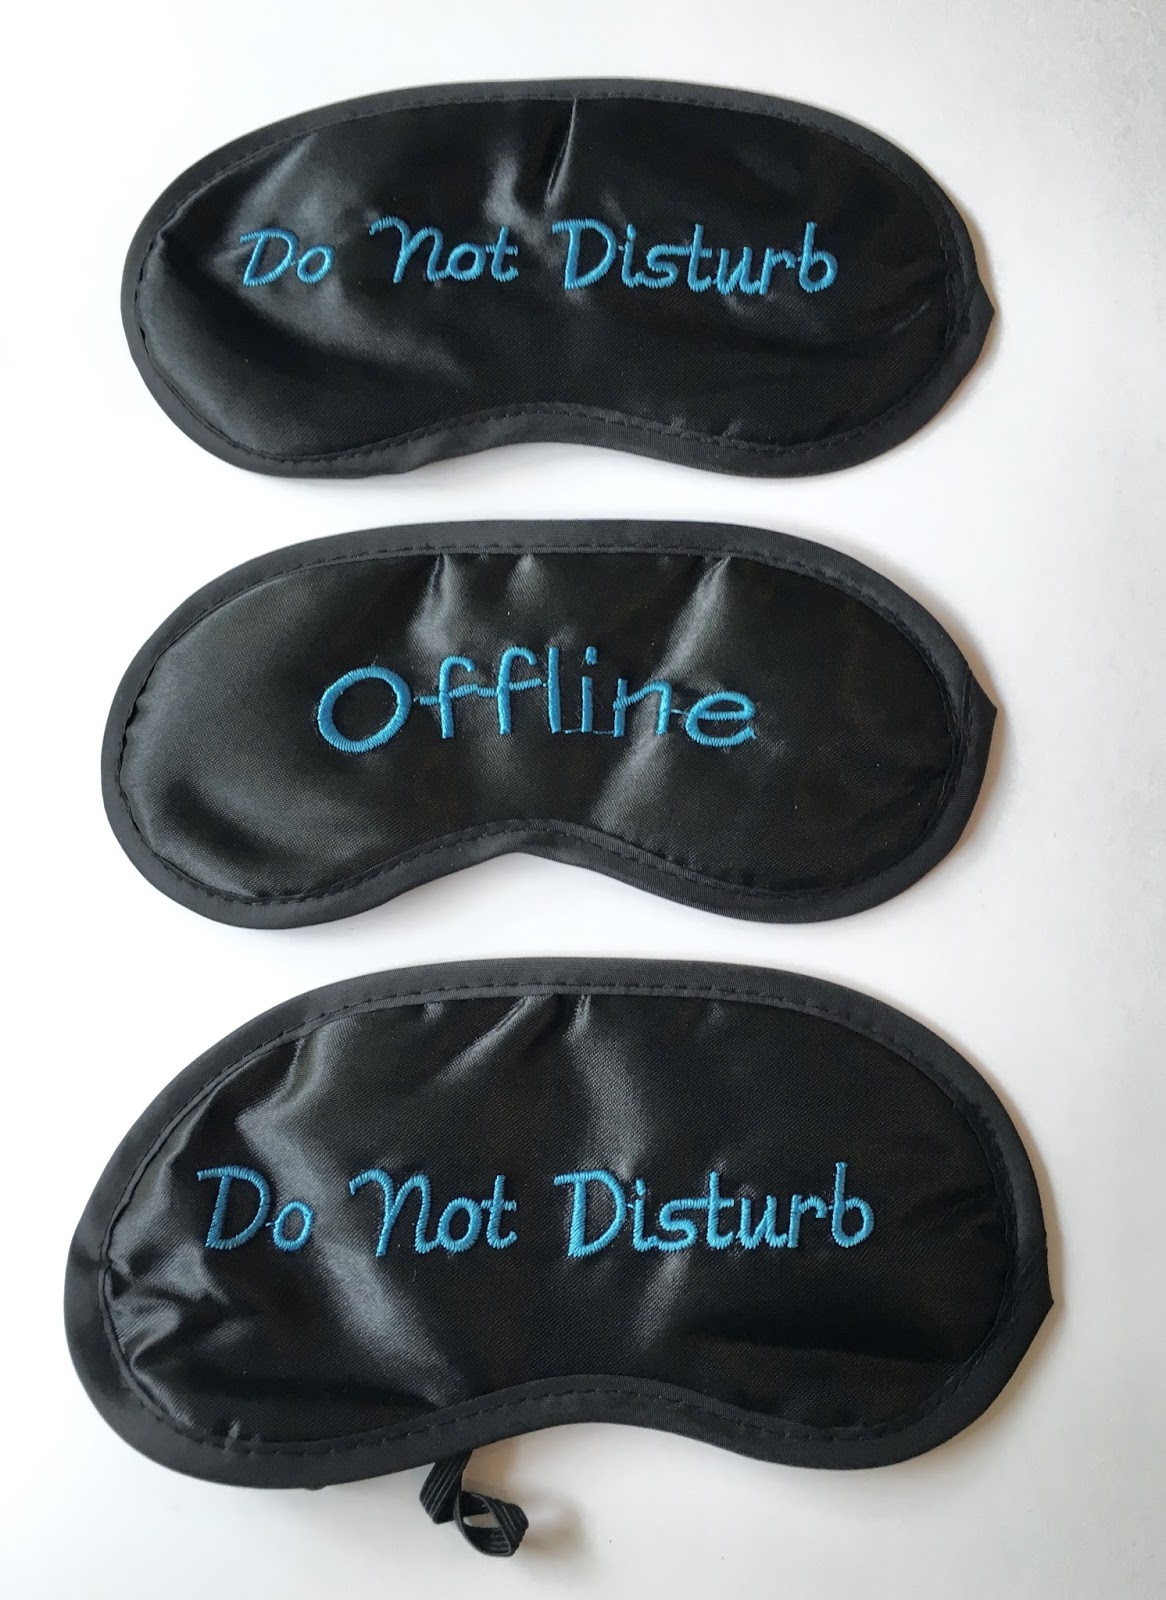
I'd like to take a moment for a word of caution here. I would not suggest ever blindfolding all the students at once, unless there are other adults around as, hmmmm, witnesses. As a parent, I would be very upset with any adult who blindfolded my child, and everyone else in the room, except themselves. As a teacher, I wouldn't ever want my actions to appear questionable. Therefore, I asked two other adults to step into the room for the few minutes we were working with the blindfolds.

Each child was given a scratch card & a wooden stick. They were asked to draw any picture they liked, blindfolded. They enjoyed the challenge and we had a great time seeing how talented they all were without the help of their eyesight. 

This would also be a great time to talk about what sounds they heard while blindfolded. I planned to have that discussion, but we moved on into a game and I forgot. I'll post the game another time.


NOTE:  All images, text and printables contained herein are copyright protected. This material is for your personal use only. I encourage you to print or pin from this site whenever you would like as long as it is credited and linked back to EasyBreezySundaySchool.blogspot.com. Failure to link back and credit my site constitutes a copyright violation.  Thanks so much!


10/3/15

Create a board game in minutes!

Mark 10: 13-16
Jesus said, "Let the little children come to me...."


In today's lesson the disciples try to turn the children away when they come to see Jesus. Jesus becomes agitated with them saying, "Let the children come to me...."

Even though this story is only three verses long without many details, it can still be turned into a fun board game. And with the help from a few online sources, it can be done in a matter of minutes!

Materials:

Card stock (for the board)
Printer
Blank board game printable from Lovetoknow 
Clip art of Jesus 
     Two of my favorite bible clip art sources:
        Bible People from The Activity Mom
        Free Bible Clip Art from Phillip Martin Clip Art
Small items for game pieces
A spinner or die

Instructions:

This is so easy! 

1. Follow the above link to the blank board game selections from Lovetoknow. Choose the game board desired and download. 

2. Go to one of the clip art sources above. Download a clip art of Jesus.

3. Open the game board in Photoshop or similar program.

4. Open the clip art of Jesus file and drag to the game board, placing it in the last game space.

5. Add items to the game board to make players lose a turn, go back, go ahead, etc.

It may be difficult to read the ones I used in the picture above. They are listed below in the order they appear on the game board:
            
             Your mother guides you to Jesus. Slide ahead
              3 spaces.

             There are so many people in the crowd that you
              trip, losing your place in line. Go this way.

             One of the disciples tells you to go away. Go
              around.

              A kind old man steps aside to let you through.
              Go ahead 5 spaces.

              Jesus calls you forward. Move ahead.

              One of the disciples chases you. Go back, but 
              do NOT take the detour.

               A disciple returns you to your mother. Go back.

               You can almost see Jesus. Slide through the 
               crowd, advancing 4 spaces.

               Jesus tells the disciples to let you come to Him.
               Move ahead 3 spaces.

6. Print your newly created game on the card stock.

Playing The Game:
Each player takes turns spinning the spinner, or rolling the die, to determine the number of spaces to advance. The first player to reach Jesus wins.


We used peg people I painted a few years ago for another game as our player pieces, but anything could work. Our Bingo Buttons would work just as well.


NOTE:  All images, text and printables contained herein are copyright protected. This material is for your personal use only. I encourage you to print or pin from this site whenever you would like as long as it is credited and linked back to EasyBreezySundaySchool.blogspot.com. Failure to link back and credit my site constitutes a copyright violation.  Thanks so much!


9/13/15

Jesus asked, "Who do people say that I am?"

Mark 8:27-38


I found something on Pinterest that I thought was extremely cool: The Puzzle Project started by Jeff Kelly, Sandy Taylor, and Marie Maber. One day maybe I will send off for my own puzzle piece and join their collection, but for now, I think it's a great exercise to go along with today's lesson. I pulled up The Puzzle Project website and talked to the kids about the originators and their traveling project after we talked about the above scripture and Jesus' words. We then talked about who we are spiritually. I asked, "What kind of a person are you? What is important to you?" I encouraged the kids to draw something they felt strongly about.


Materials:  


     Card Stock  
   
     Puzzle Template (free download from
                                   clipartbest.com)
   
     Scissors
   
     Pencil & eraser
   
     Markers and/or other decorative items


Pre-Class Prep:

Print one puzzle piece for each child onto the cardstock. Cut out the pieces so they will be ready for the kids to decorate.


I originally tried using art board for the puzzle pieces because there has been a large stack of it in the classroom at church for years. I thought this would be a good way to use it up.
 Wrong! Ideally, yes, the art board would be more sturdy... but it is very difficult to cut without slanting the edges in various directions which will alter the way the pieces fit together. I spent hours trying to get clean, straight cuts through the full thickness of the board to no avail. I finally gave up and went to card stock. The downside to card stock is it curls slightly when completely covered in markers. All in all, it was fine. I used ample tape on the backside to hold each piece flat against the wall. If anyone finds something better than card stock, please leave a comment below.

This is my test piece:

I allowed the kids to use whatever materials they wanted.The resulting textures were a nice touch.

TIP: I made the mistake of handing out the pieces in the same orientation to each child. Some pictures will end up upside down or facing one side or the other in order to get them to fit together unless the kids have different sides as top and bottom. For example: looking at the first picture in this post, one will notice the piece I decorated is positioned sideways on the wall. As more children add their pieces, I will spin their piece around before they decorate it so everyone can have their artwork right side up.


NOTE:  All images, text and printables contained herein are copyright protected. This material is for your personal use only. I encourage you to print or pin from this site whenever you would like as long as it is credited and linked back to EasyBreezySundaySchool.blogspot.com. Failure to link back and credit my site constitutes a copyright violation.  Thanks so much!