Showing posts with label pray. Show all posts

4/13/14

Prayer Fortune Teller

(Luke 11 1-13)

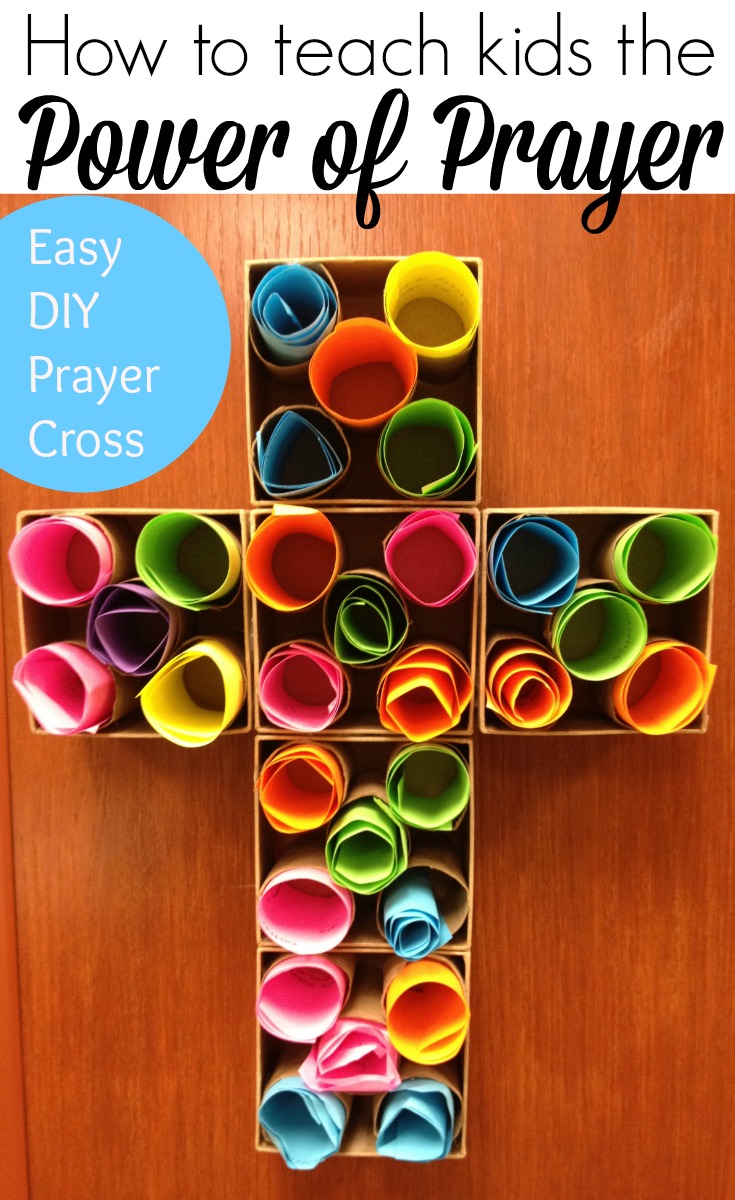
A few weeks ago, I posted a craft for our prayer lesson (click here for original post). One of our Sunday school leaders also had a great craft for this lesson, so I invited her to share it with you today. Below is a little information about her, and her instructions for making a Prayer Fortune Teller. This one is good for first grade and up. Even a teenager or two enjoyed making them! Thanks so much for sharing with us, Kathryn! 


About me . . .

I love teaching Sunday school!  I have a lot of fun getting to know the children at church and creating a fun, welcoming environment for them to have fellowship with their peers each week.   Personally, I enjoy the challenge of finding games and activities to hold their interest while teaching them just a little bit about Jesus. 


The lesson . . .

Prayer. I struggled with preparing for this lesson.  I could work with the kids to memorize the Lord’s prayer, if they didn’t know it already.  But, with 6, 7 and 8 year olds, that would not hold their attention very long – nor would it be something they would likely think about once they left church.

My goal for the lesson was to give the kids some tool to help them as they pray . . . and if I could find something that was fun enough for them to do, then maybe they might actually use it more than once when they leave church and go home.  And maybe they would even use it with their brothers and sisters, or friends!
I decided to use origami and have the kids make their own fortune teller.  You can find a multitude of videos on how to make these on YouTube. (here is just one example)


Materials:


paper

markers
pens

I used plain white paper, but you could also consider using colored paper, or even paper with a different color on each side.  I brought several pre-folded fortune tellers to the lesson for those kids who may not be ready to fold one on their own.


Instructions:


1.  Fold the paper into the fortune teller (per video instructions).
2.  Color each of the outer squares a different color.  The kids may also want to  write “red”, “blue”, “green”, etc. on the squares.


3.  Flip the fortune teller over and write numbers on each of the triangles.


4.  Lift the triangles and write down something to pray about (see * below).  Some examples are:
a.     Say a prayer for a friend.
b.     Say a prayer to thank God for something he has done in your life.
c.     Say a prayer for someone you do not know (hurricane victims,              soldiers, etc.).
d.     Say a prayer to ask for something.


(I cannot get this indent to go away! Argh!!! Sorry about this.)
  Ã­
5.  When it comes to “play”, one person puts the fortune teller on his/her fingers and moves it back and forth while a second person picks colors and numbers.

a.     Pick a color; move the fortune teller one time for each letter in         the color.
b.     Pick a number; move the fortune teller that number of times.
c.     Pick a second number; lift the flap to read what type prayer to say.


*  You may also wish to refer to the BCP, specifically the Catechism on pg. 856-7 which lists the principal kids of prayer:  adoration, praise, thanksgiving, penitence, oblation, intercession, and petition.  Some of the younger children may need more specific examples, like “say a prayer for Mrs. Smith”, “say a prayer for our troops”, or “thank God for beautiful weather.”  


NOTE:  All images, text and printables contained herein are copyright protected. This material is for your personal use only. I encourage you to print or pin from this site whenever you would like as long as it is credited and linked back to EasyBreezySundaySchool.blogspot.com. Failure to link back and credit my site constitutes a copyright violation.  Thanks so much!


2/20/14

Pray

(Luke 11 1-13)


This week’s lesson was about the importance of prayer. Hmmmm. Not your typical children’s bible story filled with colorful visuals and rich details from which to develop a game or craft. How does one add a Wow! factor to a discussion-oriented lesson for children? Well, believe it or not, it is possible. In fact, there are loads of fun, Memorable activities that are easily adapted to almost any lesson. One such craft is this one. I found it on Pinterest, of course. Here's the original source in case you'd like to check that out, too.


TIPS:


*  Smaller kids may find the whole word (Pray) too large, and therefore overwhelming. For first and second grades, it may be better to go with a single letter (P) instead. I'd use two pipe cleaners for each capital P. Third and fourth graders will have no trouble tackling the complete word.


*  It may be helpful to tie shorter pieces of yarn together beforehand to make one long strand for younger kids. Alternatively, use only one color. 


Materials:

Yarn
Scissors
Pipe cleaners (any size, any color)


Instructions:

1) Twist four pipe cleaners together (more if making large letters or only two if making a single P).

2) Bend pipe cleaners to form the desired word or letter.

3) Tie the yarn to the pipe cleaner with a knot at the bottom of the P. Begin wrapping yarn around the pipe cleaner, moving up the P, then around each letter, until reaching the end of the Y. Tie off again with a knot. Multiple layers may be applied if desired.


See another idea for this lesson here.


NOTE:  All images, text and printables contained herein are copyright protected. This material is for your personal use only. I encourage you to print or pin from this site whenever you would like as long as it is credited and linked back to EasyBreezySundaySchool.blogspot.com. Failure to link back and credit my site constitutes a copyright violation.  Thanks so much!


8/23/13

Prayer Cross


During the summer of 2012, my daughter and I visited a restaurant at the beach that gave me an idea. The restaurant had something called a Wishing Wall. Ever seen one? The whole wall was filled with tiny cubbies. Everyone was invited to write a wish on a colored piece of paper, roll it up, and stick it inside a cubby.  The different colored papers made the most beautiful abstract artwork!

I decided to make a cross with cubbies and have the kids write a prayer on their paper on the first day of Sunday school with the instructions that we would read them on the last day of class and discuss their outcomes. It took several weeks to completely fill the cross because I wanted to make sure everyone had an opportunity to write at least one prayer. There was really only one rule: the prayer had to be for someone else. We actually began reading the prayers about a month before the last day because I didn’t want to miss anyone who may be leaving for an early vacation.

I was quite pleased with how it all turned out. For those whose prayers were answered—well, isn’t God wonderful! For those whose prayers were not answered, we talked about how God’s plans are not always our plans. It was a wonderful segue into having faith that God knows best. Two people who had prayers that were not answered shared stories of how the unanswered prayer turned out to be the best thing. Again, isn’t God wonderful! 

This exercise teaches children to focus on looking to God for help, strength and understanding not just for ourselves, but for others as well. We see through answered prayers that God hears us. It draws us closer to Him and strengthens our faith and trust in Him. 

It's important to talk about how not all prayers are answered. Sometimes we can see later how that was the best thing, but sometimes we still don't understand why our prayers were not answered. This is where trust is so important. We have to remember that God always does the right thing, and although we don't understand it right now, He loves us deeply and is doing what is best for us. 

This would also be a great learning tool to use at home with the whole family, or with homeschoolers, play groups, and youth groups of all ages.  

Materials needed:
            6 wooden boxes (I found mine at Michael’s for just a few
                  dollars)
            15 toilet paper rolls (cut in half) or as many as needed to fill
                  your boxes
            Hot glue gun & glue
            Yarn or cord for hanging
            Command hook for hanging
            Strips of colored paper


1.  Glue boxes together in a cross pattern.
     2. Glue toilet paper halves in place.
3. Glue cord to back for hanging.


I think it’s prettier with the paper rolled tighter, so next time I’ll probably add pieces of cardboard in an X shape inside the toilet paper compartments to divide them into 4 smaller spaces each. I only had 12 kids last year, so I kept them large and we each had at least two prayers.

We hung our cross on the classroom door for everyone to enjoy.


NOTE: All images, text and printables contained herein are copyright protected. This material is for your personal use only. I encourage you to print or pin from this site whenever you would like as long as it is credited and linked back to EasyBreezySundaySchool.blogspot.com. Failure to link back and credit my site constitutes a copyright violation. Thanks so much!